Managing a Facebook Page for your business is a lot of work. Between posting content, replying to messages, and managing ads, it’s easy to feel stretched thin. But here’s the thing — you don’t have to do it all yourself.
Adding an admin to your Facebook Page is a simple way to get help and keep everything running smoothly.
With an admin on board, you can share responsibilities, delegate tasks, and keep your Page active. And the best part? It only takes a few minutes to set up.
This guide will walk you through how to add an admin, step by step. By the end, you’ll feel confident managing Page roles and have the help you need to make your Page even better.
What is a Facebook Page Admin?
Before we get into the “how,” let’s talk about the “what.”
A Facebook Page Admin is the highest-level role on a Facebook Page. If you created the Page, you’re already the admin by default. But you can add others to help you run it.
What can an admin do?
Add and remove roles: Admins can assign, edit, or remove other admins, editors, and other roles.
Manage settings: They can change Page details, templates, and notification settings.
Post content: Admins can create, schedule, and publish posts on the Page.
Respond to messages: They can reply to comments and direct messages.
Run ads: Admins can create, manage, and track Facebook ad campaigns.
Admins have full control, so it’s best to assign this role only to people you completely trust. If that sounds like too much power, you can give people access as Editors, Moderators, or Advertisers, each with specific permissions.
How to Add an Admin to Your Facebook Page
Adding an admin only takes a few minutes. Here’s how to do it:
1. Open Your Facebook Page
Log into your Facebook account.
Go to the Page you want to manage.
2. Access Page Settings
Click Settings.
3. Go to Page Setup
In the left-hand menu, click on Page setup.
After that, click on Page Access.
You’ll see a list of everyone with access to the Page and their roles.
4. Assign a New Admin
Click on Add New Page Role.
Enter the person’s name or email (it needs to match their Facebook account info).
Click Give access.
5. Confirm the Change
Facebook will ask for your password (this is for security).
Once you enter it, Facebook will send an invite to the person.
They’ll need to accept the invite before they officially become an admin.
And that’s it. You’ve just added an admin to your Facebook Page.
Best Practices for Adding an Admin
Adding an admin is simple, but there are a few smart steps to protect your Page’s security.
Here’s how to keep your Page secure:
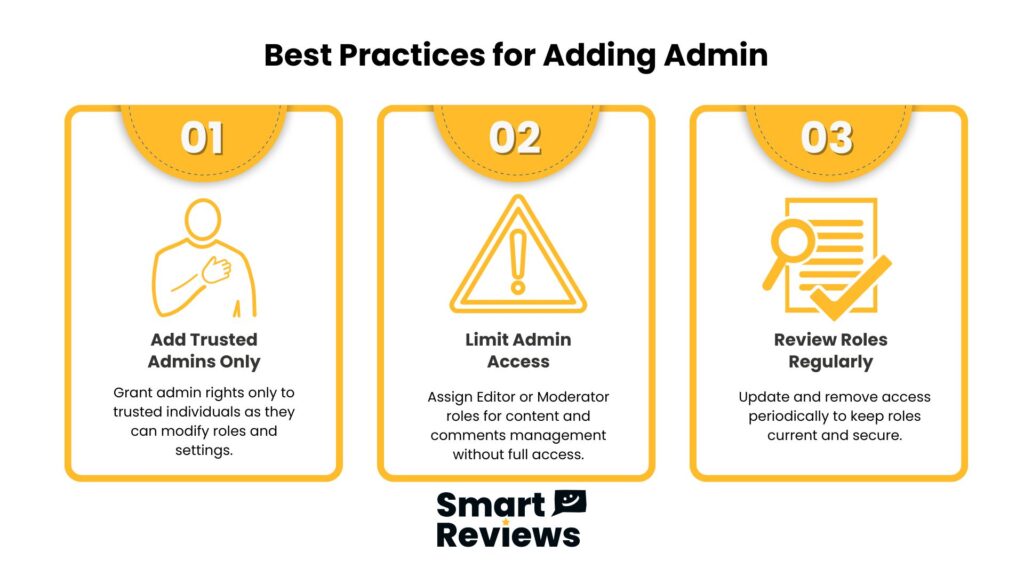
Only add trusted people: Admins have full control. They can change roles, remove other admins, and update Page settings. Make sure the person you’re adding is someone you trust.
Use other roles when possible: Not everyone needs to be an admin. Editors and Moderators can still post content, manage comments, and run ads — but they don’t have control over roles or Page settings.
Review roles regularly: Over time, people might leave your team, or you may want to update access. Review your Page Roles every few months and remove access for people who no longer need it.
If you’re working with a marketing agency, freelancer, or consultant, it’s usually best to make them an Editor or Advertiser. That way, they can still post content or manage ads, but they won’t have full admin access.
When to Use Other Roles Instead of Admins
Not everyone needs to be an admin. If you’re working with a team, freelancer, or marketing agency, you can give them access using other roles that offer the right level of control.
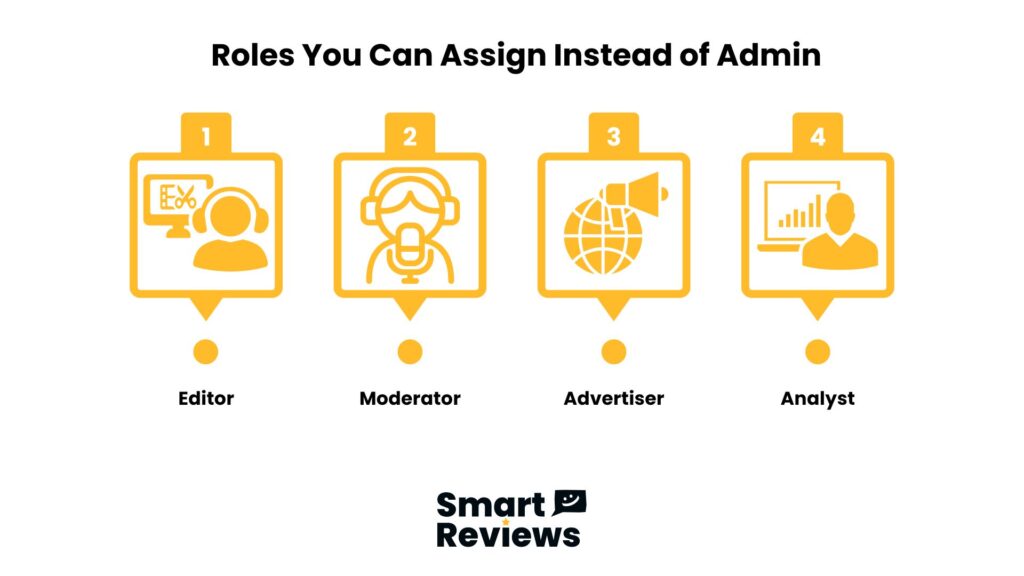
Here are the roles you can assign instead of Admin:
Editor: Can post, schedule, and respond to messages, but they can’t change roles or Page settings.
Moderator: Can manage comments, respond to messages, and ban users, but they can’t post content or run ads.
Advertiser: Can create and manage ads but can’t post on the Page or reply to messages.
Analyst: Can only view Page insights and analytics.
If you’re unsure, it’s usually a good idea to give someone an Editor role instead of an Admin. It gives them access to everything they need without putting your Page at risk.
Common Problems
Even though adding an admin is simple, a few hiccups can happen. Here’s how to troubleshoot the most common issues.
1. I Can’t Add an Admin
The problem: You enter their name or email, but it doesn’t show up.
The solution:
Make sure the person has a Facebook account.
Double-check that the email matches their Facebook login.
You must be an admin yourself to add other admins. Editors, Moderators, and Advertisers cannot add admins.
2. The Person Didn’t Get the Invite
The problem: The person you invited didn’t get a notification to become an admin.
The solution:
Ask them to check their Notifications tab on Facebook.
If it’s not there, go back to Settings > Page Roles and remove them.
Re-add them using the Assign a New Page Role section.
3. I Want to Remove an Admin
The problem: You need to remove someone as an admin.
The solution:
Go to Settings > Page Roles.
Find the person’s name.
Click Remove. Once you do this, they’ll no longer have access to your Page.
These issues are usually quick to fix. If you get stuck, head back to Settings > Page Roles and check everything is set up correctly.
Why Reviews Are Important for Your Facebook Business
Once your admin is set up and your Facebook Page is running smoothly, it’s time to focus on reviews — a key driver of business growth.
For many customers, reviews are the first thing they check before deciding to engage with your business. Positive reviews build trust, boost visibility, and encourage customer loyalty.
Why reviews matter for your business:
Build Trust and Credibility: Customers trust reviews from others more than ads or marketing.
Influence Customer Decisions: Positive reviews increase the likelihood that customers will choose your business.
Boost Visibility on Facebook: Pages with more reviews rank higher in search and recommendations.
If you want to attract new customers — and keep your existing ones — reviews should be part of your strategy.
How to Get More Reviews (Without the Extra Work)
We understand that managing Facebook reviews takes time and effort, especially if you’re already juggling customer messages, posts, and ads.
That’s where we come in.
With Smart Reviews, you can:
Get more customer reviews: Encourage happy customers to leave feedback with simple, automated review requests.
Track and manage feedback: See what customers are saying and identify areas to improve, all in one place.
Respond quickly to reviews: Reply to reviews — especially negative ones — to show customers you’re engaged and committed to great service.
When reviews start rolling in, it’s important to stay on top of them. Positive reviews can be used as testimonials, while negative reviews offer a chance to show your commitment to customer service.
If you’re looking for a simpler way to manage reviews, learn more here.
Key Takeaways
If you’re running a business, it’s time to think about how you’re managing your Facebook Page and how you’re collecting reviews.
Here’s your action plan:
Add an admin to your Page so you have extra help managing posts, messages, and reviews.
Ask for reviews from happy customers. A simple request can lead to a steady stream of positive feedback.
Respond to reviews to show customers (and potential customers) that you care.
Showcase reviews in your marketing materials to build trust and boost sales.
Your next step? Take a few minutes to review your Page roles, add a trusted partner, and start collecting more reviews from happy customers.
It’s one of the simplest ways to improve your business’s reputation and stand out from the competition. You’ve got this.